

Everyone loves tile. But then there is the dreaded dirty grout that comes along with it. Below you will find six ways to keep that grout looking clean, just like the day it was installed!
TIP #1
Getting New Tile? What is your “soil”?
While in the planning stages of your new floor, look at the areas outside of the home that are getting foot traffic. Is it black asphalt? Light-colored concrete? Plan to have the “soil” of the exterior foot traffic match the interior of your tile and grout. This makes cleaning much easier. Otherwise, you will start at a disadvantage and fight against the elements daily. Too late? Don’t worry; we have a solution on Tip #6.
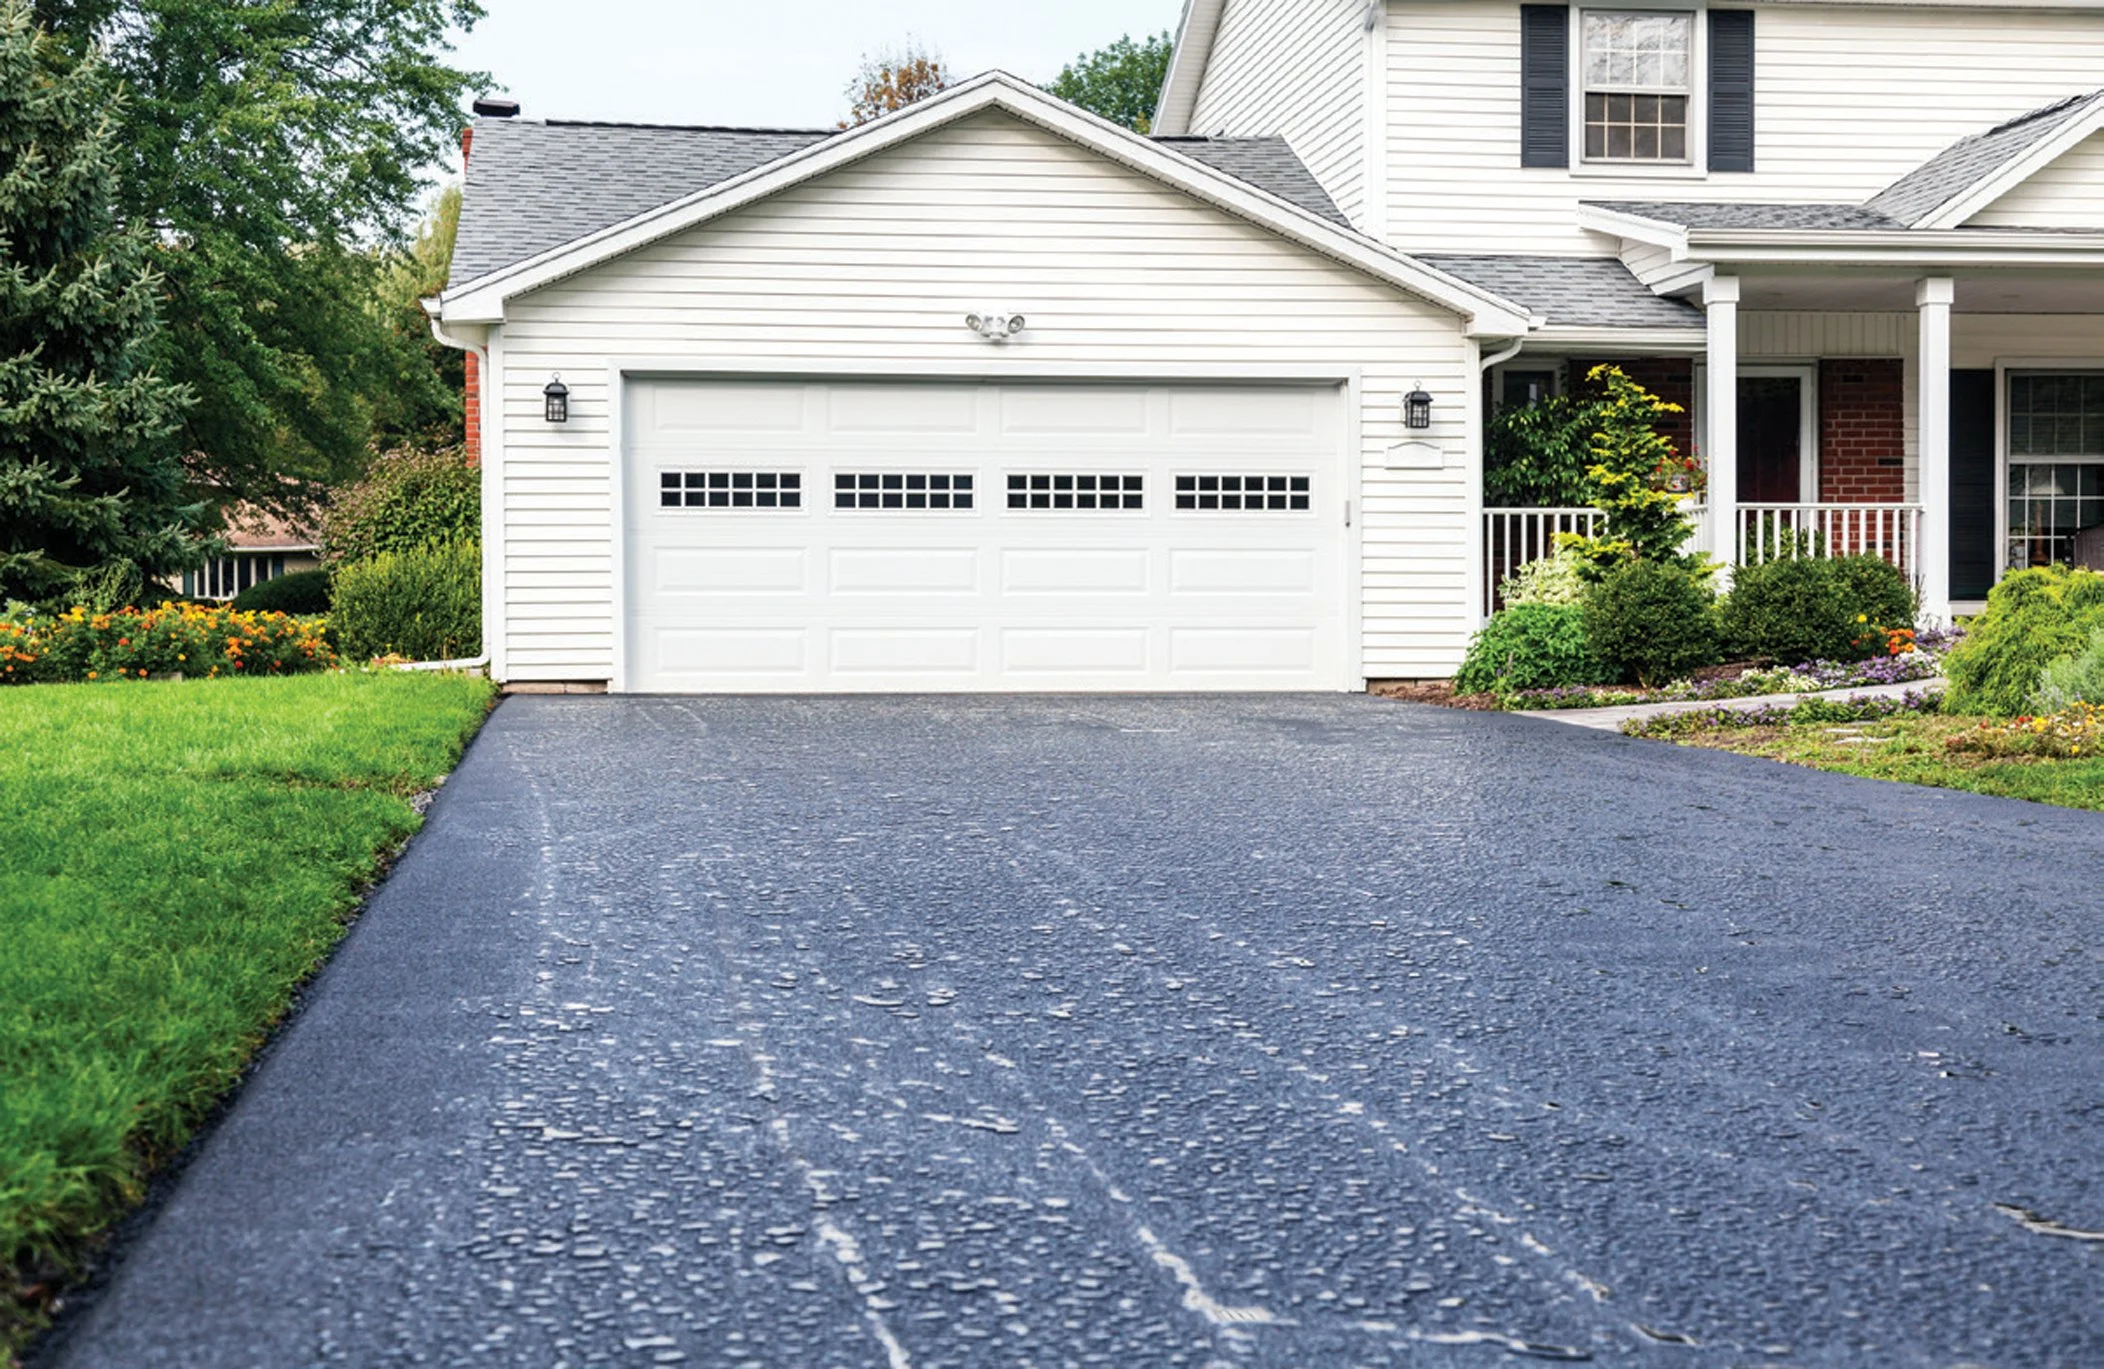
The “soil” of this home’s exterior will naturally be brought into the home by foot traffic. A dark colored grout would be a good choice here.
TIP #2
Walk-Off Mats or Entry Mats.
It takes approximately 15 steps to remove debris from footwear. The American Institute of Architects reports that five feet of matting will capture 33% of walked-in debris; ten feet will capture 52%; and 25 feet can capture as much as 100% of soil on a person's shoe bottoms, preventing the soil from entering the home. While a 25-foot entry mat isn’t practical for most of us, placing mats at the exterior and interior of each home entry will help considerably.

Placing a mat on the exterior and interior of the space is recommended to collect the most debris from footwear.
TIP #3
Vacuum and/or use a Micro-Fiber Mop!
Grout, especially most floor grout with joints 1/8” or less, is sanded grout. What this means is the dirt, dust, and debris on your grout will “cling” to the sanded grout particles. Removing the contaminants and cleaning with hot water is usually all that is needed to clean your floor and keep it clean. Grout is porous, and grout is NOT waterproof! Below is a photo of a wood plank porcelain tile with 1/8” clean grout joint. See the 30X zoom for reference of porosity. A microfiber dust mop or vacuum will help remove debris from sand particles. Here’s a great one on Amazon. Many people make the mistake of mopping tile floors before sweeping or vacuuming, this simply moves dirt around and transfers it to another location.

Extreme close up showing how porous sanded grout is.
TIP #4
pH Balanced Cleaner
As mentioned above, grout is porous with sand particles. If you use the wrong soap or detergent, it will cling to the grout particles, accumulating MORE DEBRIS! Using a Neutral pH balanced tile and grout cleaner after vacuuming or microfiber sweeping will remove most issues you find with grout discoloration. Here’s a link to a great everyday cleaner we recommend.

Before & After with a neutral pH cleaner from FILA SOLUTIONS
TIP #5
Steam Clean
Need more cowbell? Although long, direct exposure over 180 degrees can damage grout (there are polymers in the engineered cement that can break down), you can revitalize grout sporadically to its original color by steam cleaning. You can hire a professional or run down to your nearest Harbor Freight Tools and pick up this great little steam cleaner for around $100. We recommend this be done every few years. A bristle attachment helps with application and you want to keep moving. Steam too focused in one direct location can damage the grout.


Before (left) & after (right) close up of steam cleaning restoration
TIP #6
Stain & Seal - Grout Colorant
This is great to do after cleaning or if you need to change your grout's “soil” color to accommodate foot traffic. A few toothbrushes from the dollar store, small paper cups, and some rags are all you need to “stain and seal” your existing grout. You can pick this water-based sealer at Lowe’s or Amazon in your coordinating or desired color.
